Image optimization is basically optimizing your images in order for it to rank in Google. But how do you optimize your images? In this article, we talk more into detail about what image optimization is, and give you 11 must-know image optimization tips for better SEO.
If I could summarize image optimization in one word, I’d say efficiency.
Image optimization is, fundamentally, a balance between having high quality images – making an image look as good as possible, while taking up as little space (and bandwidth) as possible.
Here’s a more detailed explanation of what I mean:
We know that larger amounts of data take longer to transfer across the Internet.
In other words, larger image file sizes take a longer load speed. Larger images (in file size, not necessarily pixel size) has longer load times.
On the other hand, a smaller image size (images, in our case) may not be as high-quality as larger file size. (That’s not an absolute statement, but all things being equal, that’s generally the case.)

So, what we mean by image optimization is exactly that: there’s a balance between file size (loading time) and visual quality. That’s the real benefit here. Thankfully, with the tips listed below, you should be able to significantly reduce the image file size of almost any image, while still retaining a lot of its visual quality.
Below, I talk about properly naming your images (that is, the file names) and alt text. These are key factors to helping your image get found in an image search. You probably know that you can narrow a Google search results page to show only images. Optimizing your images for SEO, helps your image show up in the images part of the search results.

The following 11 image optimization tips should give you a solid understanding of exactly what you need to do to have images that look great and load fast.
With today’s advanced image recognition technologies, creating unique or original images can be an asset, especially if you’re in an image-oriented market (such as wedding photography) and want to stand out.
Thankfully, image dimensions can be scaled proportionally. Most of the modern site-building platforms can scale a large image (that is, large in pixels) to fit most screens. That said, it’s preferable that the dimensions of your image are conducive to modern screen sizes. That way, you can have better control over how the image will display on most screens.
You can go for a theme responsive theme as it can make images into a responsive image. A responsive image is one that’s been coded to work well on a variety of display sizes – from desktop screen to mobile screen.
If your theme, however is not responsive, there are also some image optimization plugin that you can add to your site that can help make your images responsive.
This tip refers to the file name that you use for your image. The text in file names can be indexed and searched. So, instead of using a default filename such as image1.jpg, rename the image to your target keyword to help it get ranked for that term and to gain more search traffic from Google image search.
By format for your image files, I mean file type (or extension) – .jpeg images, .gif, and .png are among the most established image file extensions.
But, there’s a relatively new one that deserves attention: WebP.
Though you can probably optimize images of any format, depending on the content of the image, some formats are more suitable than others.
The one I’ll focus on here is WebP, which is a file format developed by Google. Compared to .png images, WebP lossless images can be 26% smaller in size, and compared to .jpgs, WebP’s lossy images are 25-34% smaller in size.
From what I’ve seen, WebP is slowly being accepted as a viable image file format. It may not have caught on yet (the other formats have been around for years and years), but since we’re on the topic of image optimization, it’s smaller file sizes make it a format to consider.

One issue with some image formats is that when they are zoomed in, they may look pixelated. That’s not the case with vector images: they can be zoomed in without any pixelation (thus, round lines on the original still retain their smoothness regardless of how much you zoomed in).
File structure (or rather, folder structure), is more something that webmasters usually have to worry about.
In short, it’s the hierarchy of folders that, in our case, the image is in.
For example, your image might be found at:
site.com/content/images/2021/my-image.jpg
Or, maybe it’s at:
site.com/my-image.jpg
Generally speaking, it’s usually good to store files closer to the home page (have fewer folders within folders), but this is really up to your website-building platform.
In a moment, I’ll explain what alt text is, but basically, just as you want to have descriptive file names, for alt text (which aren’t file names), you just want to have text that describes the contents of the image.
What Are Alt Tags and Alt Text?
Alt is short for alternative.
Alt text is the technically correct term, while the term alt tag, while not as technically accurate, is used interchangeably with alt text.
I don’t know if you’ve ever seen an image fail to load: sometimes, you might see text that describes the content of the image that failed to load. That text is an alt text. Alt text can be good for people who have vision impairments: their screen reader software can read alt text and communicate it in a way that the person might not otherwise understand.
In addition search robots or search crawlers do not have eyes and also rely on the alt text to “read” what the image is.
It is also good seo practice to add your target keyword in your alt text. Use your keywords wisely and avoid keyword stuffing. A way to avoid stuffing keyword is to use other relevant keywords and variations of your keywords on our alt image tags and alt text.
Excessively large images (whether they be in pixel size or in file size) can take more resources (both in screen size and memory/bandwidth).
While the modern Internet can handle large file sizes, since we’re talking about SEO, it’s good to remember that you’re looking for a balance between quantity (size) and quality (visual appeal).
One image optimization technique that I haven’t yet mentioned is compression.
Image compression is basically a process where the file size of an image is reduced, while ideally trying to maintain the image’s quality. Depending on the method you use to compress images, you can significantly reduce the file size of an image without almost any distinguishable loss in image quality level.


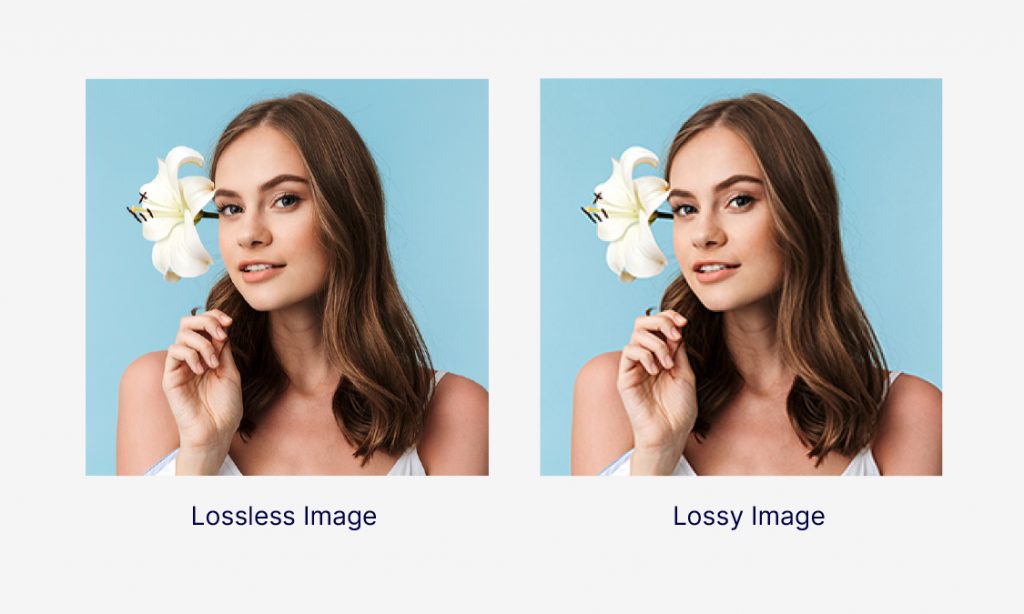
The 2 general types of image compression are lossless compression and lossy compression.
The simplest way to distinguish between lossless vs. lossy is this: Lossless generally prioritizes quality first, file size second. Lossy’s priority is file size reduction first, quality second. (You can also think of the word lossless as loss-less, as in less of a loss in quality.)
That said, what I mentioned above might be an oversimplification, but that’s a very easy way to think about lossy and lossless.

Before I describe lazy loading, I need to take a few steps back and provide some context.
SEO (search engine optimization) should go hand-in-hand with user experience (UX).
The time that a page takes to load (sometimes called page speed) is one factor in a user’s experience. It’s been said that people don’t want to wait more than 3 seconds for a page to load.
In fact, it’s been said that if the page speed of certain large retailer sites increased by as little as a second (that is, if they take a second longer than usual to load), it could result in a loss of millions of dollars a year (simply due to people not waiting for the pages to load).
We know that all files (images) take bandwidth and hence, time to load. The larger the file sizes and the more images there are, the longer the page takes to load.
So, what if your page has many, many images?
Well, there’s something called lazy loading.
Basically, without lazy loading, a web page will load everything (all images and files) regardless of whether a user scrolls down to them.
So, in other words, a user can land on your page, see that it’s taking a while to load (more than 3 seconds), and leave your page.
On the other hand, with lazy loading, images don’t load until the user scrolls down to them.
So, a user can land on your page, and quickly see the first of many images. If they want to see more, they can scroll (and those other images will load as the user scrolls to them).
That way, with lazy loading, the page (although not the full page) loads quickly (so the user doesn’t have to wait for everything to load). If they want to see more, they can scroll, at which point the other images will load as needed.
This effectively increases page speed (for the user) and can reduce bandwidth usage (because if the user decides not to scroll further, at least those assets weren’t unnecessarily loaded).
Another option to consider if you have a number of images on your page (an example is if you are in e-commerce and have a number of product images to show, or if you have some animated image that can take up a large file size) is to use a Content Delivery Network. The idea behind a CDN is that if a visitor is geographically closer to the server that hosts your site, then that user’s experience will be better than another user who is farther away. That’s because, due to geographical proximity, your site will load faster for the local user.
A CDN is a network of servers that are spread across different geographic locations around the world. These servers host your site to visitors who are closest to them, thus resulting in faster rates of data transfer and faster loading speed for your site.
We hope that this article have provided you useful tips on optimizing the images on your site. Always remember to go for high quality images while still considering the balance between quality and speed. If you take action on the aforementioned image optimization tips, you’ll very likely create a better user experience and have better SEO ranking for your site.
