YouTube has evolved into a dynamic platform where content creators strive to captivate audiences and build thriving communities.
Among the numerous features available, YouTube End Screens stand out as a valuable tool for maximizing viewer engagement and driving desired actions.
In this article, we will delve into the world of YouTube End Screens, exploring their purpose, best practices, and advanced strategies to empower content creators like you to make the most of this feature.
Here is what you will read in this article:
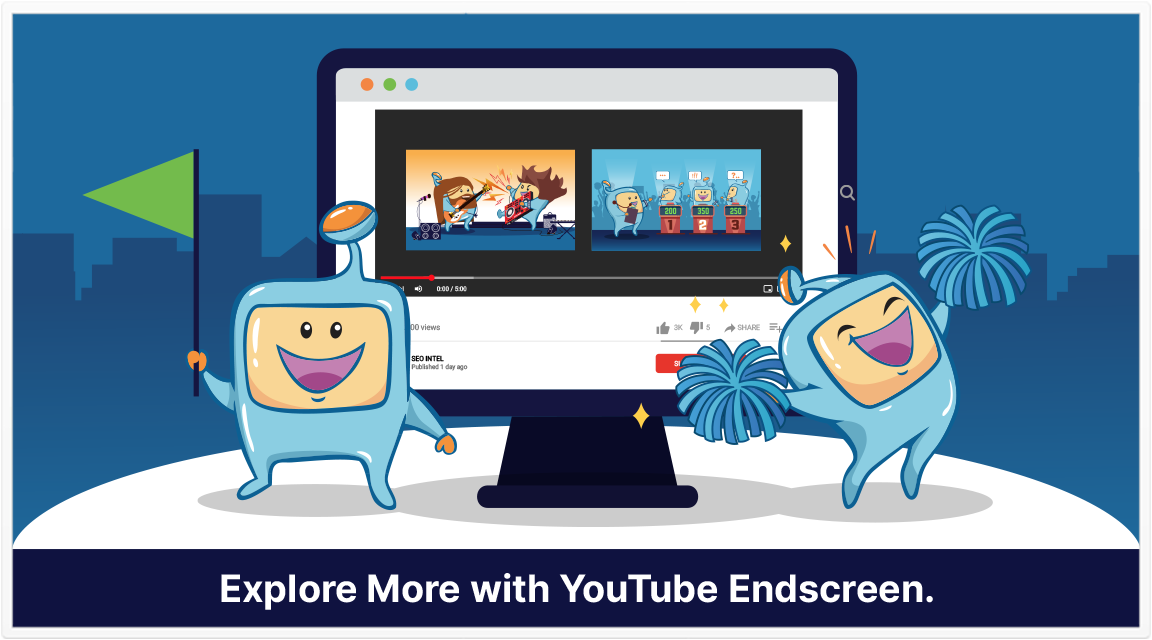
YouTube End Screens, also known as "End Cards" or "Endslates," are interactive elements that appear in the last 5-20 seconds of a video.
These screens offer content creators the opportunity to promote videos, playlists, merchandise, and external websites.
By strategically utilizing End Screens, creators can extend viewer engagement, encourage subscriptions, and guide viewers to further explore their content.
The importance of an End Screen cannot be overstated.
After investing time and effort in creating compelling videos, the End Screen acts as a catalyst to increase views, traffic, and subscribers.
By leveraging this feature effectively, content creators can significantly enhance audience retention, drive desired actions, and ultimately grow their YouTube channel.
To ensure that your YouTube End Screens effectively engage viewers and drive desired actions, it's essential to follow best practices.
Let's dive deeper into each best practice:
When selecting elements to promote in your End Screen, consider your overall content strategy and the goals you want to achieve.
YouTube allows four types of elements to be featured: the Subscribe button, videos or playlists, other YouTube channels, and external websites.
Here are some considerations for each element:
Subscribe Button: The Subscribe button is a powerful tool to increase your subscriber count.
It should be prominently displayed in your End Screen, preferably with clear and compelling text or visuals around it.
Encourage viewers to subscribe to your channel to receive updates on your latest content.
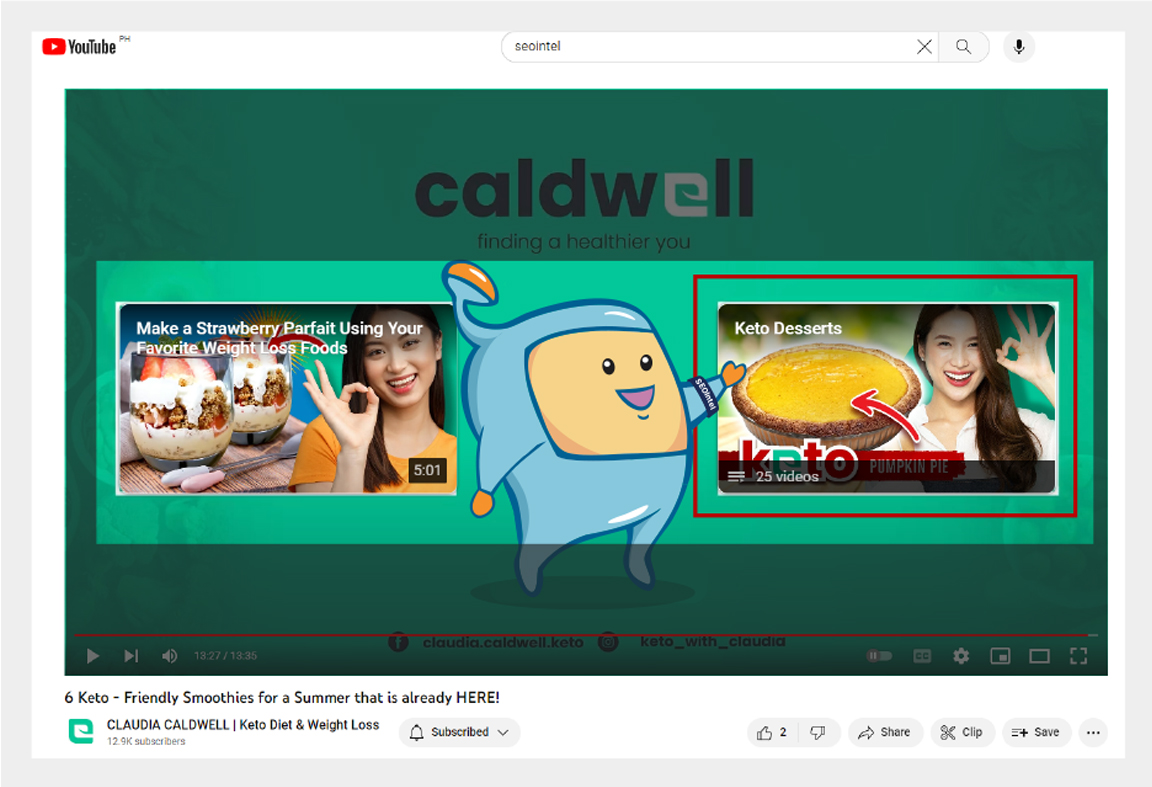
Videos or Playlists: Promoting your own videos or playlists is an excellent way to encourage viewers to continue watching your content.
Choose videos that have proven to be popular or have high conversion rates, as these are more likely to engage viewers and convert them into subscribers.
Additionally, featuring playlists can lead to increased watch time as viewers can easily navigate to the next video in the playlist.
Other YouTube Channels: Collaboration with other YouTube channels can be mutually beneficial.
By featuring another channel in your End Screen, you can introduce your audience to new content creators and potentially attract subscribers from their fanbase.
Ensure that the featured channel aligns with your audience's interests and complements your content.
External Websites: If you have an associated website or landing page, you can use your End Screen to direct viewers there.
This can be valuable for promoting merchandise, offering exclusive content or downloads, or driving traffic to your blog or online store.
Make sure the external website provides a clear benefit or incentive for viewers to visit, such as exclusive discounts or additional resources.
To avoid overwhelming your viewers and keep your End Screen visually appealing, it's recommended to use only 2-3 elements in each End Screen.
Too many options can lead to decision paralysis, where viewers are unsure which action to take and end up taking none.
By providing a focused selection of elements, you increase the likelihood that viewers will choose one of the options presented.
Carefully consider the elements that align with your goals and prioritize those that are most important for driving viewer engagement and subscriptions.
Remember, it's better to have a concise and impactful End Screen than a cluttered one that confuses or distracts viewers.
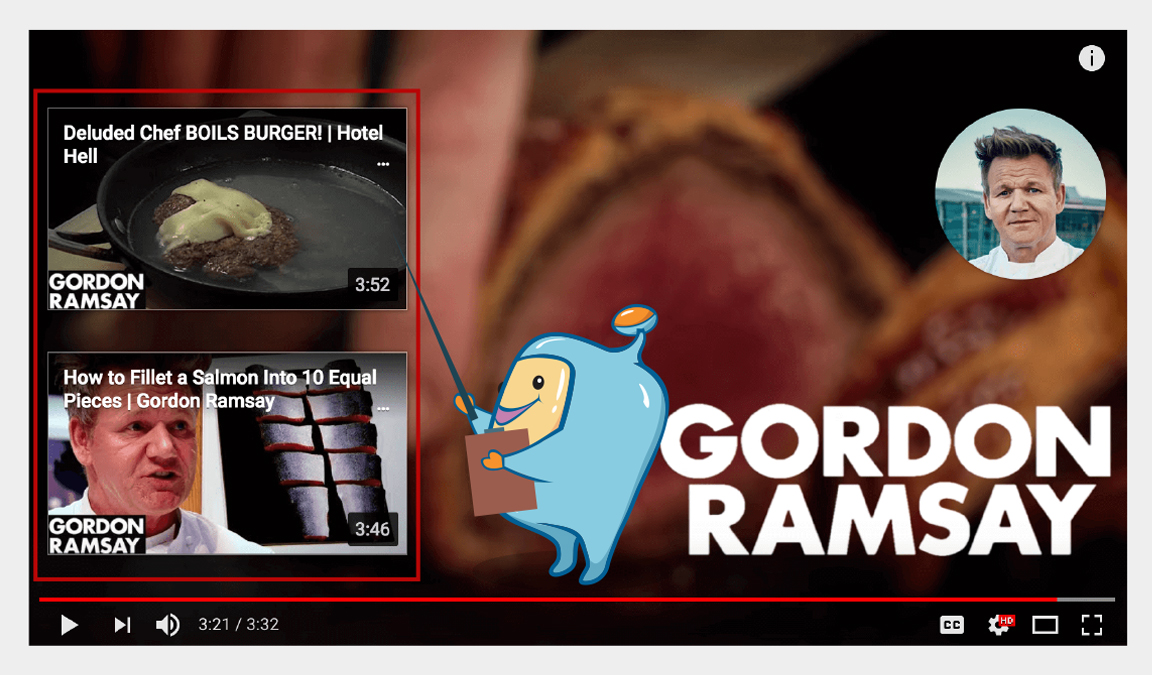
One of the primary purposes of an End Screen is to encourage viewers to watch more of your content.
You have two options for promoting videos in your End Screen: featuring a high-converting video or selecting a related video.
Here's what to consider for each approach:
High-Converting Video: Promote a video that has proven to convert a significant number of viewers into subscribers.
This video may have received a high number of likes, comments, or shares, or it may have led to a notable increase in subscribers.
By highlighting this video in your End Screen, you can capitalize on its success and further engage viewers.
Related Video: Choose a video that is closely related to the content viewers have just watched.
This could be a follow-up video that dives deeper into a topic or provides additional information or guidance.
By linking related videos in your End Screen, you guide viewers on a seamless journey through your content, increasing their overall engagement and satisfaction.
Carefully analyze your audience's preferences and interests, as well as the performance of your videos, to determine which approach is most suitable for your End Screen.
Increasing your subscriber count is a key goal for many YouTubers.
Make sure your End Screen includes a prominent Subscribe button, allowing viewers to subscribe to your channel directly from the End Screen.
While you cannot customize the design of the button itself, you can create compelling text or visuals around it to encourage subscriptions.
Consider incorporating clear and explicit language such as "Subscribe" or "Subscribe to My Channel" to guide viewers to take action.
It's important to create a sense of urgency and emphasize the benefits of subscribing to your channel, such as exclusive content or updates on future videos.
If you have an associated website or landing page, you can leverage your End Screen to drive viewers there.
Instead of sending viewers to your homepage, provide them with something specific and valuable that they can access by visiting your site.
This could be an exclusive ebook, a report, a course, or any other resource that aligns with your content and offers additional value.
When promoting an external website, ensure that it complies with YouTube's policies and guidelines.
The website should provide a seamless and relevant user experience, reinforcing the value proposition and strengthening the connection between your YouTube channel and your online presence.
A visually clean and uncluttered End Screen is crucial for effective engagement.
By keeping the focus on the key elements, you ensure that viewers can easily understand and act upon the options presented.
Here are some tips for maintaining an uncluttered End Screen:
Background: Choose a background that is visually appealing and aligns with your brand identity.
It should enhance the visibility of the elements and not distract or overwhelm viewers.
A plain or minimalistic background can often work well, allowing the featured elements to stand out.
Element Placement: Thoughtfully position the elements within the End Screen.
Utilize the YouTube Studio editor's drag-and-drop functionality to arrange the elements in a visually balanced and logical manner.
Consider the flow of the viewer's attention and guide them towards the most important elements, such as the Subscribe button or featured videos.
Visual Hierarchy: Create a clear visual hierarchy within the End Screen by using appropriate sizes, colors, and typography.
Highlight the most important elements to draw viewers' attention and make it easy for them to understand the available choices.
Avoid overcrowding the screen with too much text or visual elements that may confuse or overwhelm viewers.
By keeping your End Screen uncluttered, you create a visually appealing and user-friendly experience that encourages viewers to take action.
Setting up your YouTube End Screen requires careful planning and execution to ensure that it effectively engages viewers and drives desired actions.
Follow these step-by-step guidelines to create a compelling and impactful End Screen:
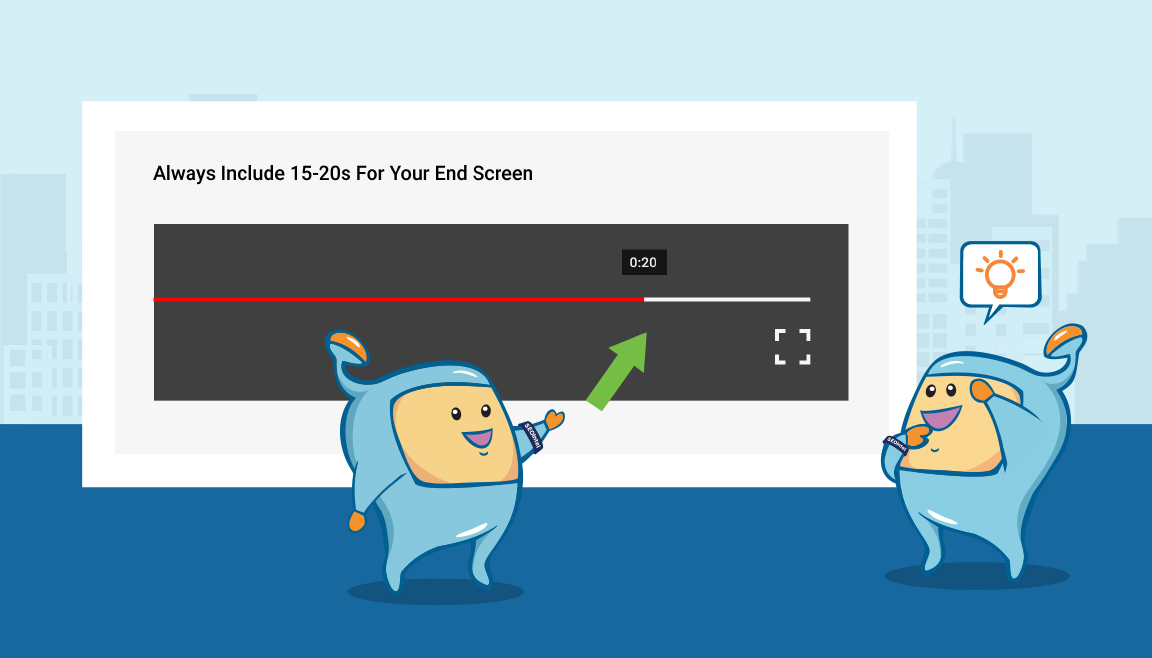
When creating your video, be sure to include 5-20 seconds of space at the end specifically for your End Screen.
This ensures that viewers have sufficient time to engage with the elements and take the desired actions.
Allocating dedicated space also allows for a seamless transition from your video content to the End Screen, providing a cohesive viewing experience.
Once you have uploaded your video to YouTube, you can customize your End Screen using the YouTube Studio editor.
Here's how to access the editor:
a) Sign in to your YouTube Studio account.
b) From the dashboard, navigate to the "Content" section.
c) Locate and click on the title or thumbnail of the video you want to edit.
d) In the left-hand menu, select "Editor."
In the YouTube Studio editor's "Editor" section, select the "End screens" option to begin customizing your End Screen.
The editor provides a user-friendly interface where you can easily drag and drop different End Screen elements onto the canvas.
Apply Templates (Optional): YouTube offers pre-designed templates that group elements in visually appealing ways.
If you prefer to use a template, select the "Apply template" option and choose a template that suits your content and branding.
Customize the template by replacing the placeholder content with your own videos, playlists, or other elements.
Customize Individual Elements: If you prefer a more personalized approach, select the specific element you want to add from the available options: Subscribe button, videos or playlists, other YouTube channels, external websites, etc.
Drag and drop the selected element onto the canvas.
Once you have added elements to your End Screen, arrange and position them to create a visually balanced and engaging composition.
Utilize the drag-and-drop functionality within the editor to move the elements around and find the most visually appealing placement.
Consider the visual hierarchy of your End Screen and guide viewers' attention to the most important elements.
Place the Subscribe button prominently and ensure that featured videos or playlists are easily visible. Maintain a sense of visual coherence by aligning elements and using consistent spacing.
After arranging your End Screen elements, preview how it will appear to viewers.
Select the play button within the YouTube Studio editor to see how your End Screen looks while your video is playing.
This allows you to assess the overall visual impact and make any necessary refinements.
Take the time to review the placement, readability of text, and overall composition.
Ensure that all elements are clearly visible and easily understood by viewers.
Make adjustments as needed to enhance the effectiveness of your End Screen.
Once you are satisfied with your End Screen setup, click on the "Save" button within the YouTube Studio editor to save your changes.
This ensures that your customized End Screen will be included in your video when it is viewed by viewers on YouTube.
It's important to note that End Screens can also be added and customized while uploading a video.
If you prefer to set up your End Screen during the upload process, follow the prompts and options provided in the YouTube upload interface to add and customize your End Screen accordingly.
Sign in to your YouTube Studio account and navigate to the "Analytics" section.
YouTube Analytics offers a comprehensive set of metrics and reports to help you understand how your content is performing across various dimensions.
Within YouTube Analytics, locate the section specifically dedicated to End Screens.
This expanded report provides key metrics that allow you to assess the impact and effectiveness of your End Screens.
Some of the metrics you can analyze include:
Click-Through Rate (CTR): CTR measures the percentage of viewers who clicked on one of the elements in your End Screen.
A higher CTR indicates a stronger engagement with your End Screen and a higher likelihood of viewers taking the desired actions.
Engagement: Analyze the overall engagement of viewers with your End Screen.
This includes metrics such as the total impressions of your End Screen, the number of clicks on elements, and the average time viewers spend engaging with your End Screen.
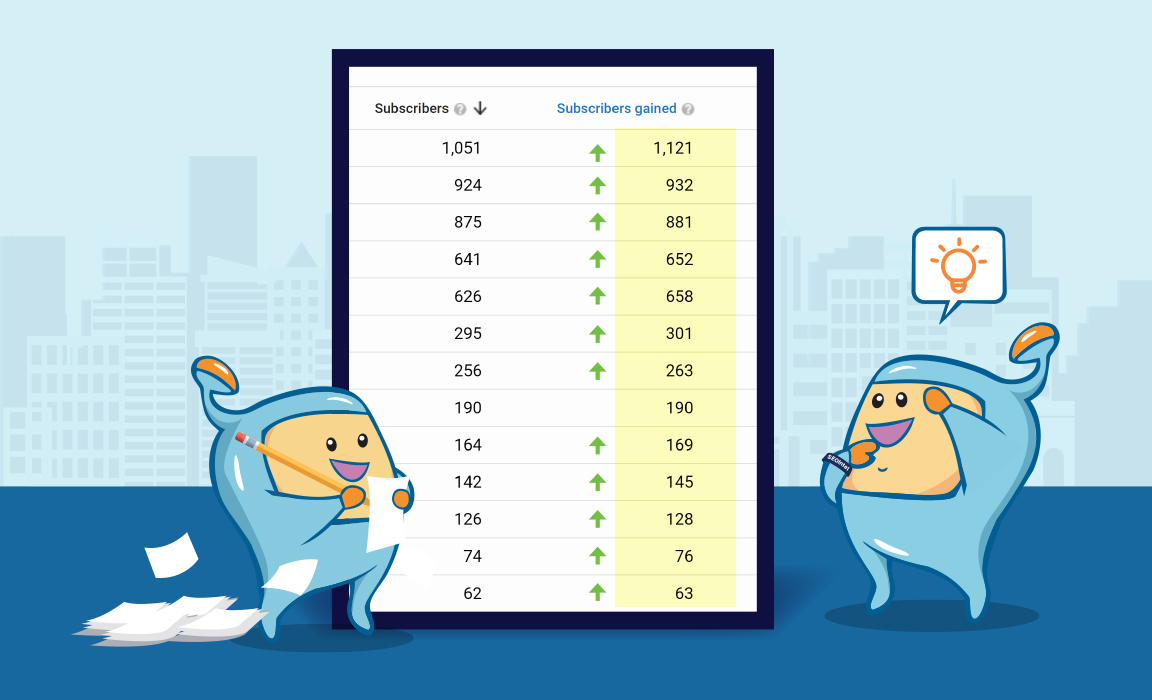
Conversions: Measure the conversions generated by your End Screens.
This could include metrics such as the number of subscribers gained or the number of viewers who visited external websites linked in your End Screen.
By tracking conversions, you can assess the effectiveness of your End Screens in driving desired actions.
Analyze the data to identify which elements in your End Screens are resonating with your audience and driving the most engagement.
Look for patterns and trends to understand which types of videos, playlists, or other elements are generating the highest click-through rates or conversions.
Based on the insights gained from YouTube Analytics, make data-driven decisions to refine and optimize your End Screens.
Here are some actions you can take:
Emphasize Successful Elements: If you find that certain elements consistently generate high click-through rates or conversions, consider featuring them more prominently in future End Screens.
Amplify the elements that resonate most with your audience and drive the desired actions.
Experiment with Different Elements: Continuously test and experiment with different combinations of elements to find the most effective mix for your audience.
Introduce new videos, playlists, or channels in your End Screens and assess their impact on engagement and conversions.
Iterate and Improve: Use the data from YouTube Analytics as a feedback loop for continuous improvement.
Regularly monitor the performance of your End Screens, make adjustments based on the insights gained, and track how those refinements impact viewer engagement and channel growth.
Compare the performance of different End Screens to understand which variations are delivering the best results.
By benchmarking and comparing metrics such as CTR, engagement, and conversions across multiple End Screens, you can identify trends and strategies that consistently drive better outcomes.
Pay attention to how viewers interact with your End Screens and observe their browsing patterns.
Are there specific elements that consistently attract attention or generate higher engagement?
Are there certain placements or designs that are more effective?
By understanding your audience's behavior, you can make informed decisions about your End Screen setup and refine your approach to maximize viewer engagement.
To further enhance the effectiveness of your YouTube End Screens and maximize viewer engagement, consider implementing these tips and advanced strategies:
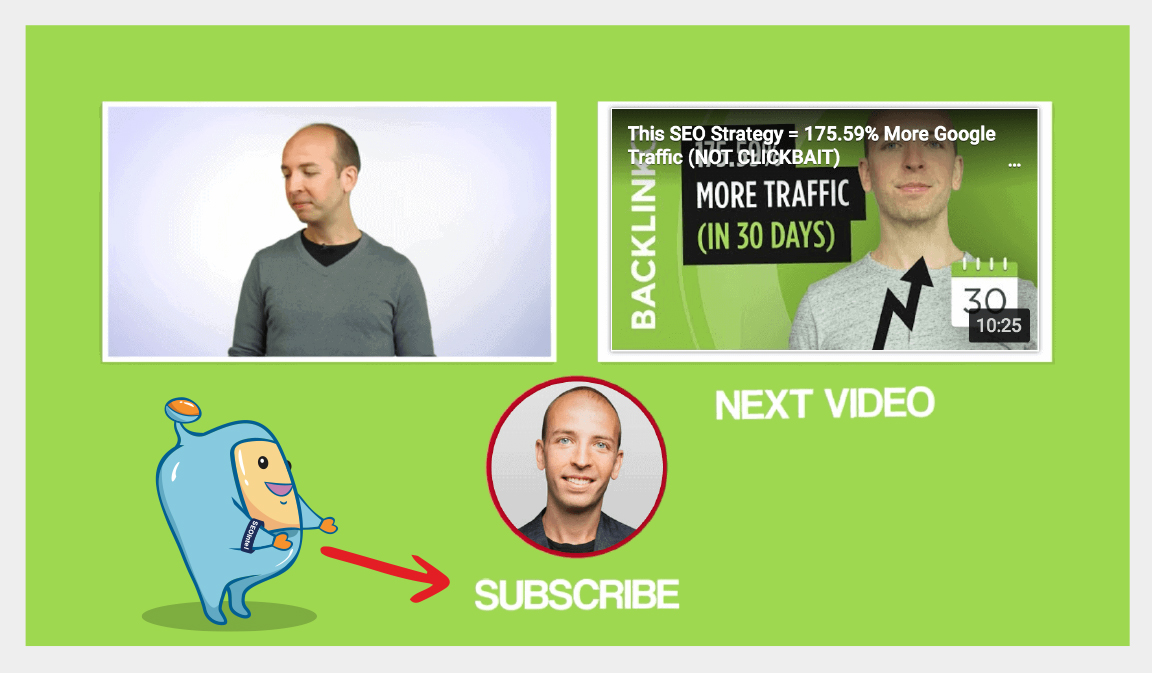
Adding clear labels or text prompts to your video element in the End Screen can significantly increase viewer engagement.
Use terms like "Watch Next" or "Next Video" to explicitly guide viewers to click and continue watching your content.
By providing a visual cue and indicating the next step for viewers, you encourage them to explore more of your videos and increase overall watch time.
Consider incorporating icons for the social media platforms where you are most active.
While these icons are not clickable, they serve as visual reminders and let viewers know that you have a presence on those platforms.
By showcasing your social media presence, you encourage viewers to connect with you outside of YouTube, fostering a broader online community.
Instead of relying solely on visual cues, add an audio track over your End Screen that includes a verbal call-to-action.
Use this opportunity to guide viewers to watch another video, subscribe to your channel, or engage with your content on other platforms.
By reinforcing the desired actions through verbal prompts, you increase the likelihood of viewer engagement and channel growth.
A cluttered End Screen can distract viewers and dilute the impact of your promotional elements.
To ensure maximum effectiveness, maintain a clean and visually appealing End Screen. Consider using a plain background or a background that aligns with your branding.
By minimizing visual distractions, you allow the featured elements, such as the Subscribe button and featured videos, to stand out and capture viewers' attention.
Instead of featuring a single video, consider highlighting a playlist in your End Screen.
Playlists offer a curated selection of videos on a specific theme or topic, providing viewers with a continuous viewing experience.
When viewers watch a playlist, videos from that playlist continue to play automatically, increasing the chances of gaining more views, watch time, and engagement.
Promoting playlists in your End Screens can be an effective way to keep viewers engaged and encourage them to explore more of your content.
Continuously experiment with different variations of your End Screens to find the most effective strategies for your audience.
Test different combinations of elements, placements, and designs to identify what resonates best.
Analyze the performance metrics provided by YouTube Analytics to understand which variations yield higher engagement, click-through rates, and conversions.
By iterating and refining your End Screens based on data-driven insights, you can continually improve their effectiveness and drive better results.
YouTube End Screens are powerful tools that enable content creators to make the most of their videos' final moments.
By strategically incorporating End Screens into your content, you can effectively engage viewers, increase subscriptions, drive traffic to external websites, and promote your brand.
Throughout this article, we have explored the significance of YouTube End Screens, best practices for their implementation, and advanced strategies to optimize their impact.
Understanding how to leverage End Screens can significantly enhance your content's reach and audience engagement.
Before you can receive free updates, link building strategies or SEO tips you need to confirm your email right now.
(It’s easy)
Just go to your inbox, open the confirmation email from the SIA, and click the link.
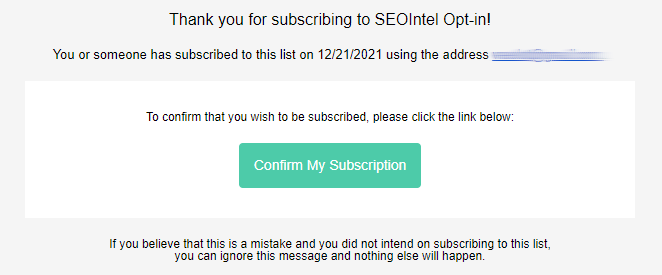
And that’s it!
PS: If you don’t see a confirmation email, please check your spam/junk or promotions folders. Sometimes the confirmation message ends up there by mistake.
Obtenez nos 7 études S.I.A. les plus controversées qui feront trembler la tête même les SEO les plus avancés d’incrédulité.
De plus, nous vous alerterons lorsque nous publierons de nouveaux tests au public.
Obtenga nuestros 7 estudios S.I.A. más controvertidos que harán que incluso el SEO más avanzado sacuda la cabeza con incredulidad.
Además, le avisaremos cuando publiquemos nuevas pruebas al público.
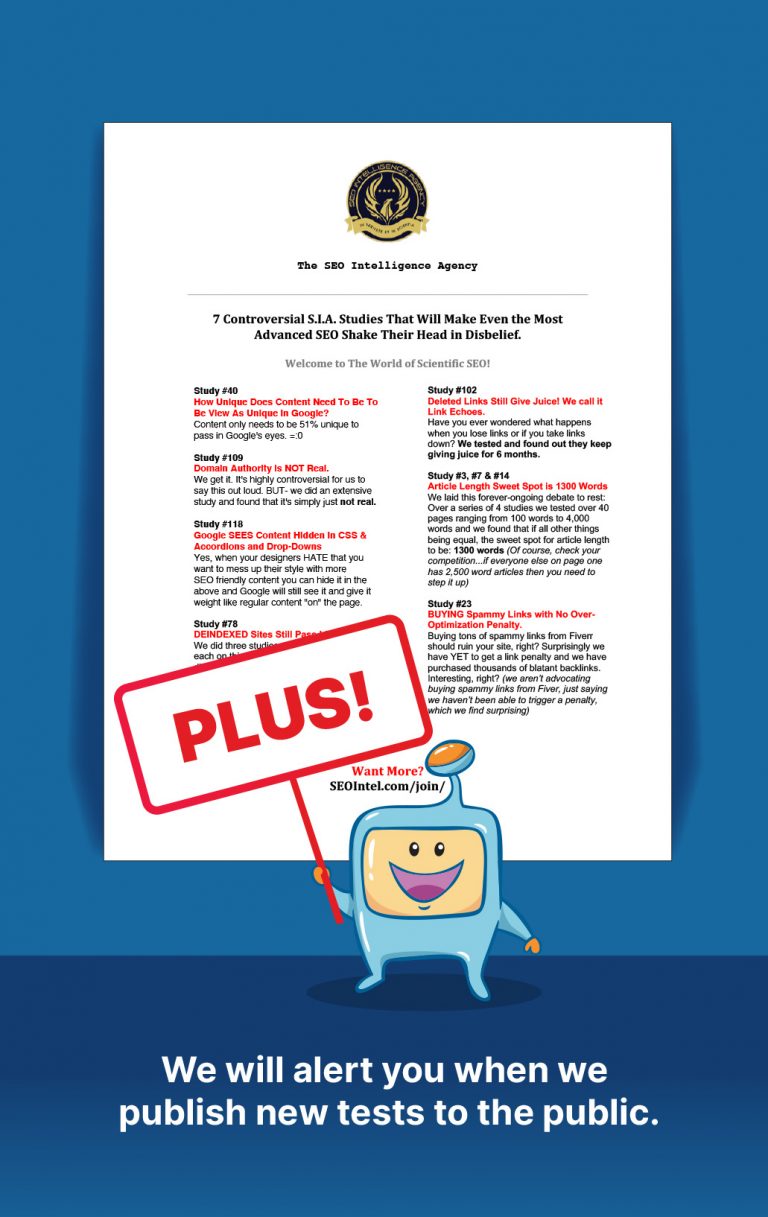
Get Our Most 7 Controversial S.I.A. Studies That Will Make Even the Most Advanced SEO Shake Their Head in Disbelief.
Plus we will alert you when we publish new tests to the public.