Filming YouTube videos requires more than just hitting the record button. It involves careful planning, technical know-how, and an understanding of what captures the attention of viewers.
Whether you're a seasoned YouTuber or just starting out, mastering the art of filming YouTube videos can significantly enhance the quality of your content and leave a lasting impact on your audience.
In this article, we will guide you through the best practices and techniques that will take your YouTube videos to the next level.
Get ready to unleash your creativity and create compelling visual experiences that leave a lasting impact on your audience.
Here is what you will read in this article:
When it comes to filming YouTube videos, following these best practices to ensure high-quality content that engages and captivates your audience:
When it comes to creating YouTube videos, establishing a distinct style is not only important but also helps you leave a memorable mark on your viewers.
A unique and consistent style sets you apart from other channels, creates a sense of identity for your content, and makes your videos instantly recognizable.
Here are some key elements to consider when establishing your distinct style:

The setting you choose for your videos plays a crucial role in conveying the desired style and atmosphere.
It can be a physical location, such as an office, a kitchen, or a studio, or even a virtual backdrop.
The setting should align with the type of content you create and the message you want to convey.
For example, if you have a beauty channel, you may want a clean and well-lit makeup room as your setting, while a comedy channel might opt for a colorful and playful background.
Your clothing and accessories are essential components of your style.
They not only reflect your personality but also set the tone for your videos.
Consider the type of videos you create and the target audience.
Choose a wardrobe that matches the theme and aligns with the overall style of your channel.
Whether it's business casual, formal attire, or a more relaxed and casual look, your wardrobe should complement your content and help establish your brand.
Props can add depth, visual interest, and storytelling elements to your videos.
They can help you illustrate concepts, enhance demonstrations, or simply make your content more engaging.
Depending on your niche, consider incorporating props that are relevant and meaningful to your audience.
For example, if you have a fitness channel, you might include exercise equipment or workout gear as props.
Select props that align with your style and enhance the overall visual experience without distracting from the main focus of your videos.
The background of your videos contributes significantly to the overall style and aesthetic.
It serves as a canvas against which you present your content.
You can choose between a plain background, such as a wall or a white sheet, which provides a clean and minimalistic look, or a real-life background that adds depth and context to your videos.
Make sure the background complements your style and doesn't overshadow the main subject.
Experiment with different backgrounds and find one that enhances your content and resonates with your viewers.

Music is a powerful tool for setting the mood, evoking emotions, and enhancing the viewer's experience.
The right choice of music can elevate your videos and create a cohesive atmosphere.
Consider the tone and style of your content when selecting music.
Different genres and styles of music convey different messages and emotions.
A soothing background melody may work well for a relaxing meditation video, while an upbeat track can add energy and excitement to a travel vlog.
Be mindful of copyright issues and use royalty-free music or licensed tracks to avoid any legal complications.
Remember, establishing a distinct style takes time and experimentation.
It's essential to strike a balance between consistency and evolution as you grow and develop your channel.
Listen to feedback from your audience, monitor the performance of your videos, and continuously refine your style to keep your content fresh and engaging.
The framing and shots you use in your YouTube videos are vital for effectively delivering your content and capturing the attention of your viewers.
Thoughtful composition and camera techniques can enhance the visual storytelling and make your videos more engaging.
Here are key considerations for choosing the best frames and shots:
The frame is what your viewers see in the final video.
It's important to ensure that the most important elements are prominently featured and well-framed within the shot.
Consider the focal point of your video and position it strategically within the frame.
For vloggers, it might be yourself as the main subject, while for cooking channels, it could be the ingredients or the final dish.
Experiment with different framing options to find the one that best showcases your content and grabs the viewer's attention.
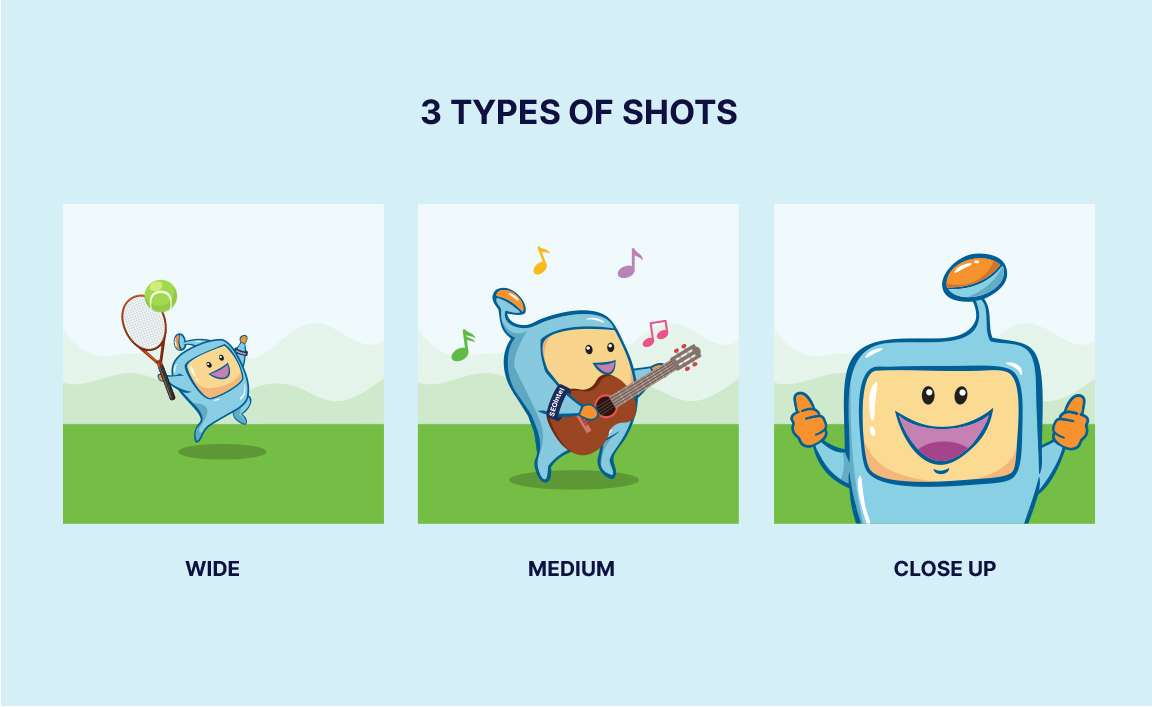
Incorporating different types of shots adds variety and visual interest to your videos.
Here are the main types of shots to consider:
This type of shot works best when you need to capture multiple people or showcase the environment.
It provides a broader view and helps set the context.
Wide shots are ideal for interviews, travel videos, or vlogs that aim to give viewers a sense of place.
Use this shot to establish the scene and introduce your audience to the setting.
A medium shot provides a balanced view that captures both the subject and some surrounding elements.
It allows viewers to see more detail while still providing context.
This versatile shot is commonly used in tutorials, product reviews, or storytelling videos.
It gives viewers a closer look at the subject while maintaining a broader perspective.
Also known as a close-up shot, this type of shot is perfect for creating an intimate and personal connection with your viewers.
It focuses on specific details, expressions, or actions, allowing viewers to feel more connected to you or the subject.
Close shots work well in beauty tutorials, unboxing videos, or emotional storytelling.
They help convey emotions, highlight small details, and create a sense of proximity.
While it's important to experiment with different angles and shots, having a "homebase" shot can help establish your channel's style and make your content recognizable.
The homebase shot is a consistent framing or camera angle that you use as a signature element in most of your videos.
It creates a sense of familiarity for your audience and reinforces your brand identity.
For example, you might always start your videos with a specific introduction shot or use a particular camera angle that viewers associate with your content.
By incorporating a mix of wide, medium, and close shots, you can provide visual variety and engage your viewers at different levels.
Remember to maintain consistency in framing and shot selection within each video to create a cohesive visual experience.
When planning your shots, consider the story you want to tell, the key elements you want to highlight, and the emotions you want to evoke.
Take your time to set up each shot, ensuring proper lighting, composition, and focus.
Don't be afraid to experiment with different angles, camera movements, and perspectives to add dynamism to your videos.
Choosing the best frames and shots requires a balance between creativity and purpose.
Pay attention to how each shot contributes to the overall narrative and visual impact of your video.
With practice and experience, you'll develop a keen eye for framing and shot selection, creating visually captivating content that keeps your viewers engaged.
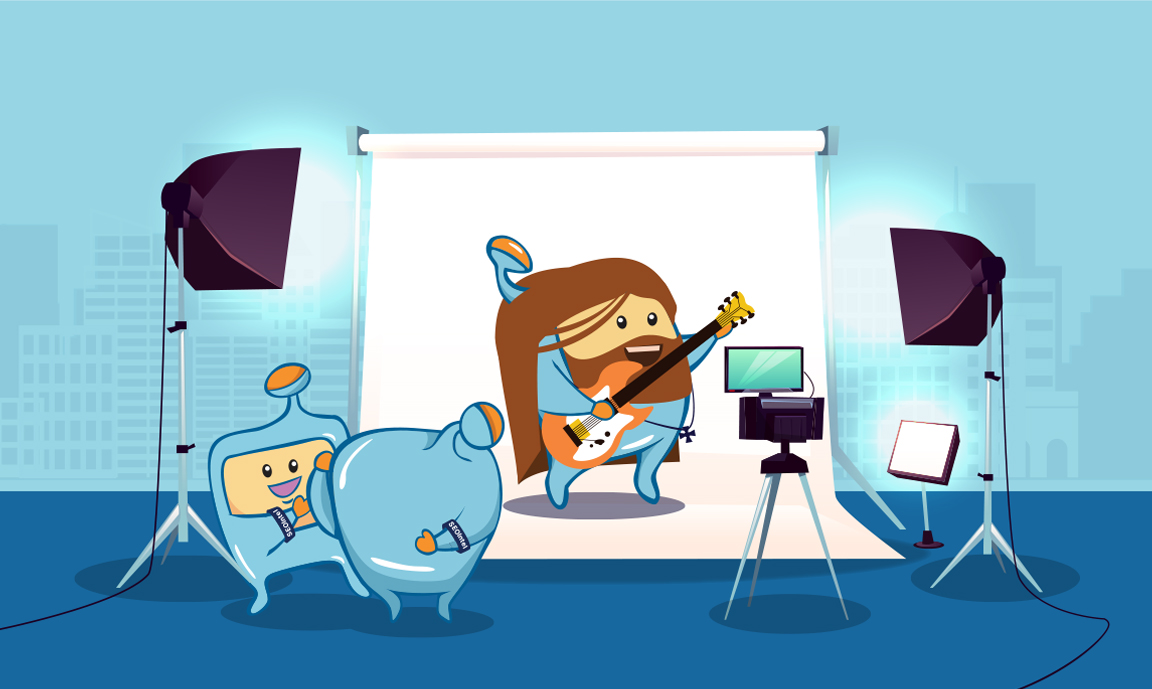
Lighting is a crucial element that can significantly enhance the visual quality of your YouTube videos.
Proper lighting not only ensures that your content is well-illuminated and visually appealing but also helps set the mood and captures your viewers' attention.
Here are key considerations for brightening up your videos with lighting:
Understanding the two main types of lighting will help you create a well-balanced and visually pleasing setup.
Ambient light refers to the natural light that fills the room or the space where you are filming.
When shooting outdoors, sunlight serves as the primary ambient light source. Indoors, ambient light includes overhead lights, windows, or any existing light sources.
While ambient light is essential for creating a natural and comfortable atmosphere, it's often not sufficient to fully illuminate your shot.
It's crucial to supplement ambient light with additional lighting sources.
Direct light is specifically directed at your subject or the area you want to highlight.
It helps eliminate shadows and brightens up the shot.
Depending on your setup and the desired effect, you may need multiple direct lights.
Direct light can be achieved using various lighting equipment and techniques, as we will discuss shortly.
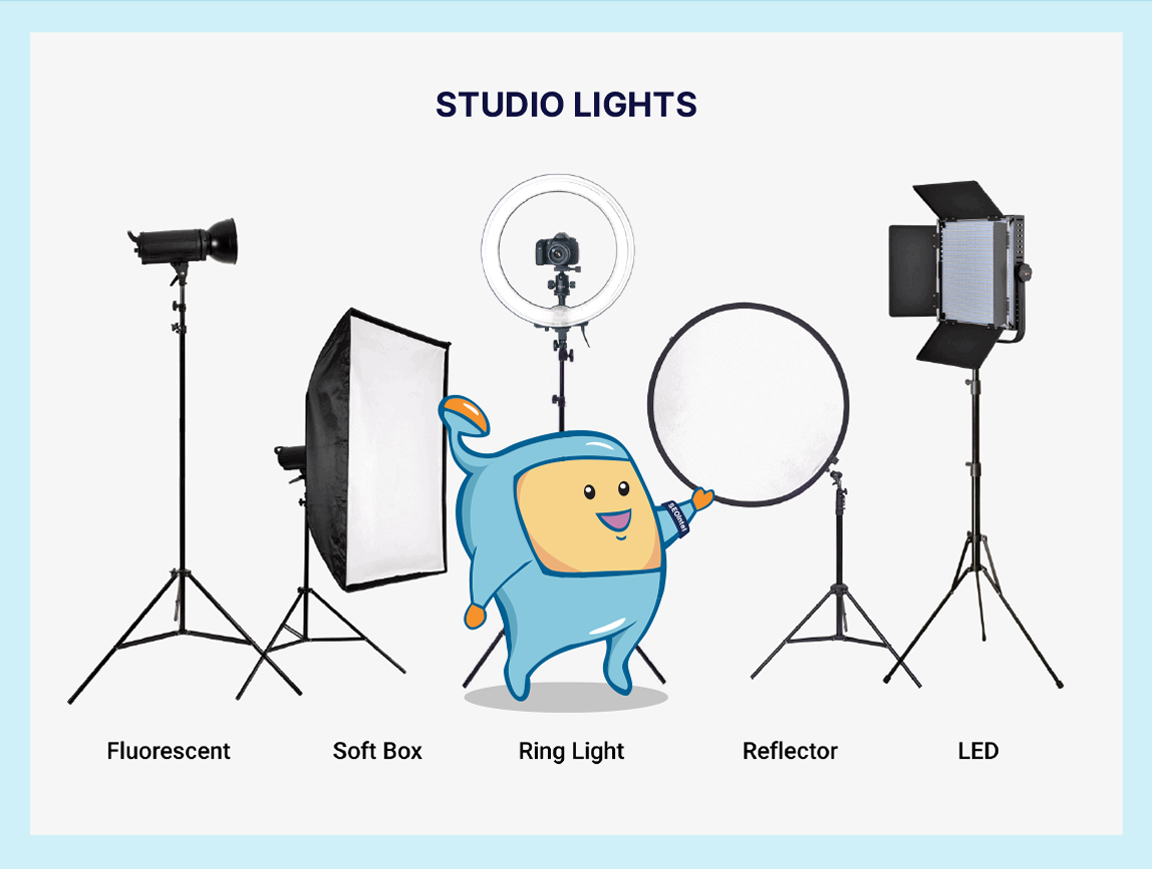
There are several lighting options you can consider to enhance the visual quality of your videos.
Here are some commonly used options:
Filming outdoors or utilizing natural light sources indoors can provide a flattering and natural-looking illumination.
When filming outside, choose a time of day when the sunlight is softer, such as early morning or late afternoon, to avoid harsh shadows.
When filming indoors, position yourself near windows to take advantage of natural light.
However, keep in mind that natural light is variable and can be affected by weather conditions, so it's important to plan accordingly.
Fluorescent lights are commonly used for both ambient and direct lighting.
They are cost-effective and widely available.
However, raw fluorescent lighting can be harsh and may create unflattering color casts.
To soften the light, consider using a "soft box" to cover the bulb or using diffusers to create a more pleasant and even lighting effect.
LED lights offer several advantages, including lower heat emission, portability, and dimmability.
They are available in various sizes and configurations, from small on-camera LED panels to larger LED light panels.
LED lights may provide less light per bulb compared to fluorescent lights, but you can compensate by using multiple LED lights to achieve the desired brightness.
They are particularly useful for close-up shots and can create a soft and even lighting effect.
Ring lights have gained popularity in recent years, especially in beauty and fashion videos.
They consist of a circular arrangement of LED bulbs and provide even and diffused lighting, with the camera placed in the center of the ring.
Ring lights are ideal for creating flattering and well-lit close-up shots, highlighting the subject's face, and reducing shadows.
Reflectors are essential tools for modifying and softening direct light.
They can be handheld reflectors, white poster boards, styrofoam panels, or dedicated collapsible reflectors.
Reflectors bounce light onto the subject, reducing harsh shadows and creating a more flattering and balanced look.
They are particularly useful in outdoor or natural light setups where you need to control and shape the lighting.
When setting up your lighting, there is no one-size-fits-all approach, as it depends on various factors such as your equipment, environment, style, and specific requirements.
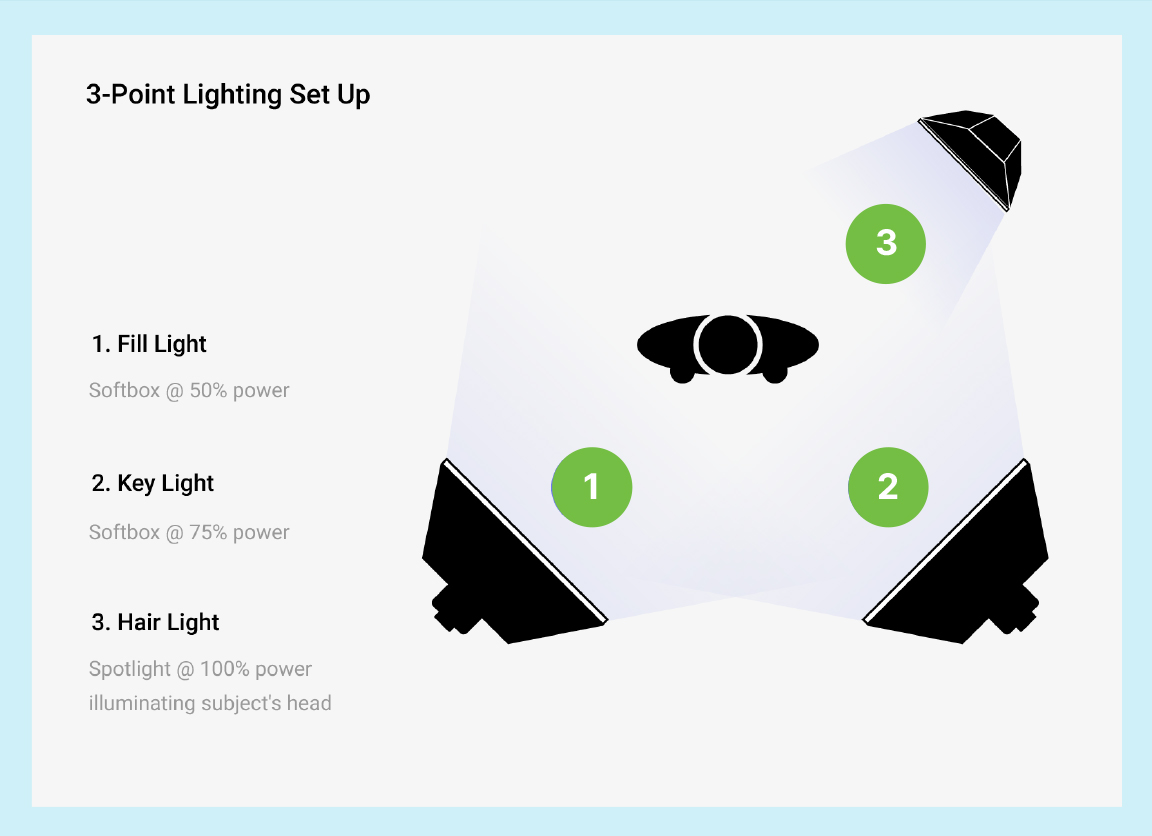
However, here's a general setup guideline to help you achieve good lighting:
Position direct lights evenly on both sides of the subject to provide additional illumination and eliminate shadows.
This balanced setup helps create a natural and visually pleasing lighting effect.
This technique creates a three-dimensional look and adds visual interest to your videos.
Experiment with different angles and intensities to find the right balance and create a visually appealing background.
Check the exposure levels, ensure proper color temperature, and address any unwanted shadows or harsh lighting.
Conduct test shots and make refinements until you achieve the desired lighting effect.
By paying attention to lighting and utilizing the appropriate lighting options, you can significantly enhance the visual quality of your YouTube videos.
Remember to consider the mood and tone you want to convey in your content and adjust the lighting accordingly.
With practice and experimentation, you'll develop a keen eye for lighting techniques that best complement your style and create captivating visuals for your viewers.
While visual quality is important, audio plays a crucial role in creating engaging and professional YouTube videos.
Poor audio quality can distract viewers and diminish the overall impact of your content.
Here are key considerations to ensure that your video's audio sounds great:
Before you start recording, take measures to minimize unwanted noise and echoes in your recording environment.
By reducing background noise and echoes, you can achieve clearer and more professional audio.
Consider the following steps:
Minimize or eliminate these sources as much as possible by closing windows, doors, or using soundproofing materials.
These quieter but consistent sounds can be distracting in your video.
Take steps to reduce or eliminate them, such as moving away from electrical devices or using noise reduction filters or software.
Echoes can occur in rooms with hard surfaces, such as empty rooms or those with minimal furniture.
If necessary, add soundproofing materials such as blankets on the floor and walls or invest in professional soundproofing panels to minimize echo and create cleaner audio.
Choosing the appropriate microphone is crucial for capturing high-quality audio that effectively conveys your message.
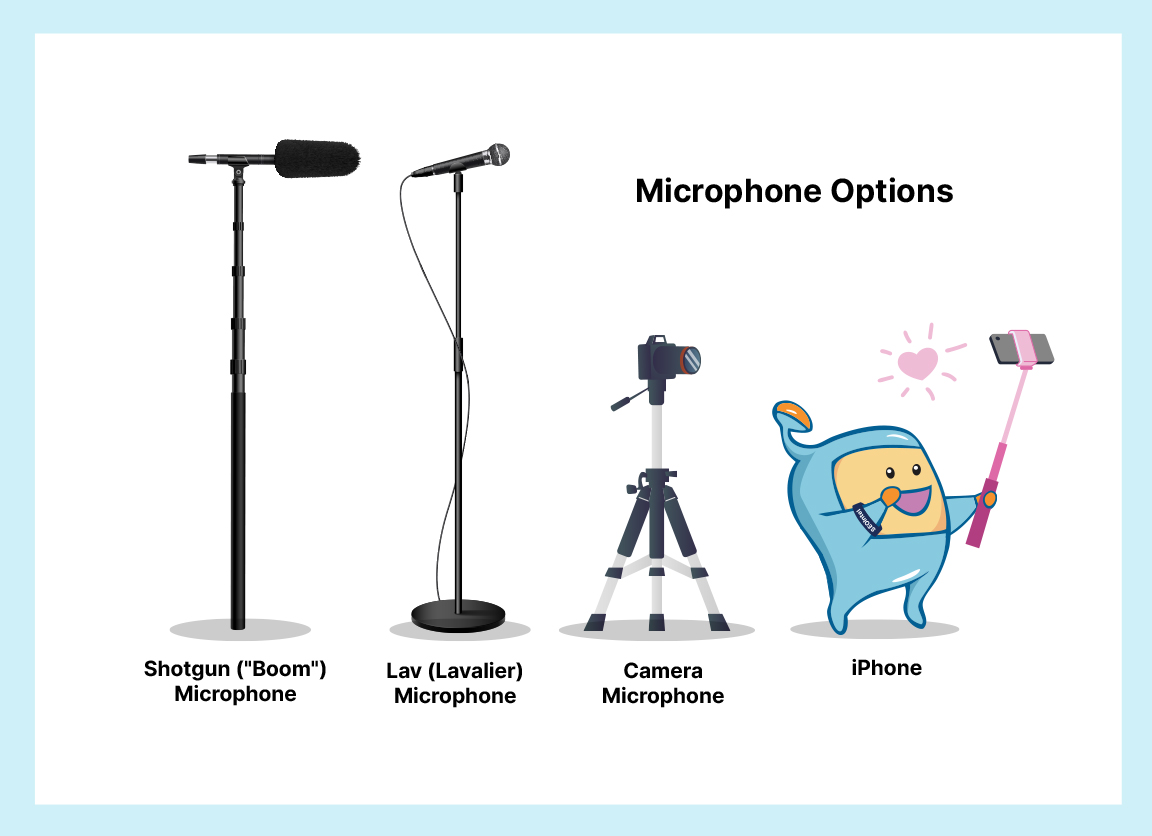
Consider the following microphone options:
Shotgun microphones are ideal for capturing audio from a specific area or direction.
They have a long, narrow pickup pattern that focuses on the sound in front of the microphone while minimizing background noise.
Shotgun mics are commonly used in interviews or situations where you want to focus on a single person talking towards the camera.
Lav microphones are small, lightweight, and portable.
They are typically clipped onto the speaker's clothing, providing decent audio quality while offering convenience and mobility.
Lav mics are commonly used in situations where the speaker needs to move around or when a more discreet microphone setup is required.
Built-in camera microphones are often not the best option for capturing high-quality audio.
They tend to pick up a lot of background noise and may not be positioned optimally for audio recording.
However, if you don't have access to dedicated microphones, using the built-in microphone on your camera can be a viable option.
Position the camera close to the subject to improve the audio quality.
If you don't have access to dedicated microphones, using an iPhone can be an alternative.
iPhones have built-in microphones that can provide better audio quality compared to camera microphones.
Position your iPhone close to the subject or use an extension cable and place it within a reasonable distance for clearer audio.
Note: Regardless of the microphone you choose, it's important to position it correctly and conduct audio tests before recording to ensure optimal sound quality.
Keep an eye on your audio levels during recording to ensure they are not too low or too high.
If the audio is too low, viewers may struggle to hear your content, while audio that is too high can result in distortion.
Use headphones or monitors to listen to the audio as you record and make adjustments accordingly.
Many cameras or recording devices have built-in audio level indicators that can help you monitor and control the audio input.
Once you have recorded your video, take the time to edit and enhance the audio in post-production.
Use video editing software or dedicated audio editing software to remove background noise, adjust levels, apply equalization (EQ), and add any necessary audio effects or enhancements.
By refining the audio in post-production, you can further improve the overall sound quality of your videos.
Remember, clear and high-quality audio is essential for keeping your viewers engaged and ensuring they can fully understand and appreciate your content.
Invest in good microphones, take steps to minimize background noise, and make adjustments during recording and in post-production to achieve the best possible audio for your YouTube videos.
Filming YouTube videos involves various best practices to enhance the visual and audio quality of your content.
By establishing a distinct style, choosing the best frames and shots, using proper lighting techniques, and ensuring great audio quality, you can create engaging and professional videos that captivate your viewers.
Experiment with different techniques, find what works best for your channel, and continuously strive to improve the quality of your videos. Happy filming!
Before you can receive free updates, link building strategies or SEO tips you need to confirm your email right now.
(It’s easy)
Just go to your inbox, open the confirmation email from the SIA, and click the link.
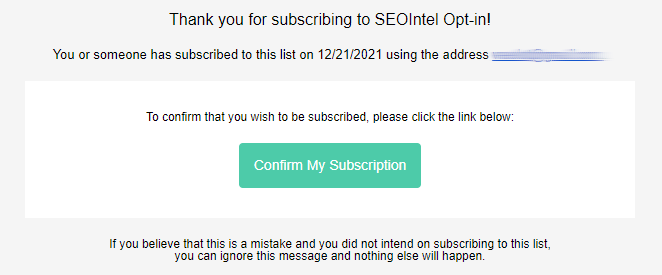
And that’s it!
PS: If you don’t see a confirmation email, please check your spam/junk or promotions folders. Sometimes the confirmation message ends up there by mistake.
Obtenez nos 7 études S.I.A. les plus controversées qui feront trembler la tête même les SEO les plus avancés d’incrédulité.
De plus, nous vous alerterons lorsque nous publierons de nouveaux tests au public.
Obtenga nuestros 7 estudios S.I.A. más controvertidos que harán que incluso el SEO más avanzado sacuda la cabeza con incredulidad.
Además, le avisaremos cuando publiquemos nuevas pruebas al público.
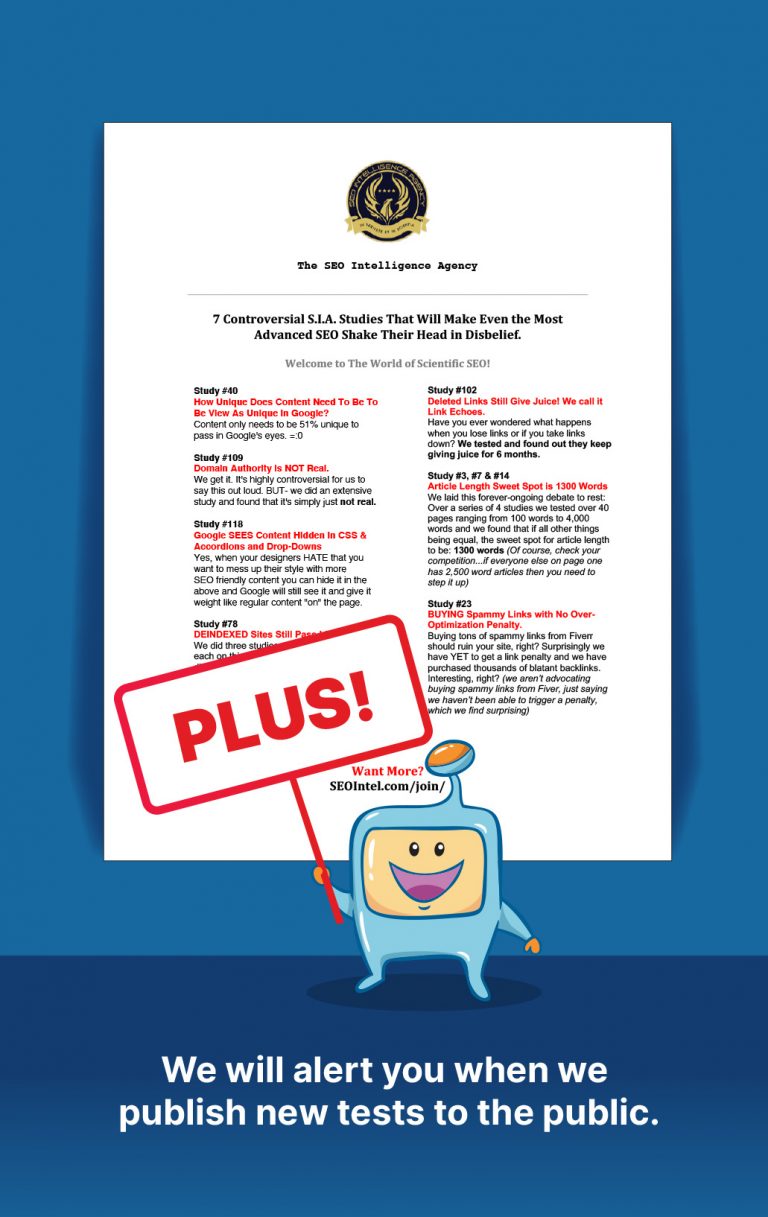
Get Our Most 7 Controversial S.I.A. Studies That Will Make Even the Most Advanced SEO Shake Their Head in Disbelief.
Plus we will alert you when we publish new tests to the public.